DIY Magnolia Garland | Hammmade
Each year I look forward to making garland. I love the hunt with kids, finding greenery from the woods or garden. It’s always rewarding to know you’ve used what’s around to make something beautiful. I’m realizing it’s actually become Christmas tradition in the Hamm family and I love that! One day, I think the kids will remember collecting greenery for the garland and just the memory is worth the effort!
Magnolia garland supplies :
-Faux garland- we used about 20 ft
-Wire - we used OOK 5lb galavnized steel wire
-Magnolia leaves
-Hammer & nails
-Any other greenery you love for fillers
-Ladder
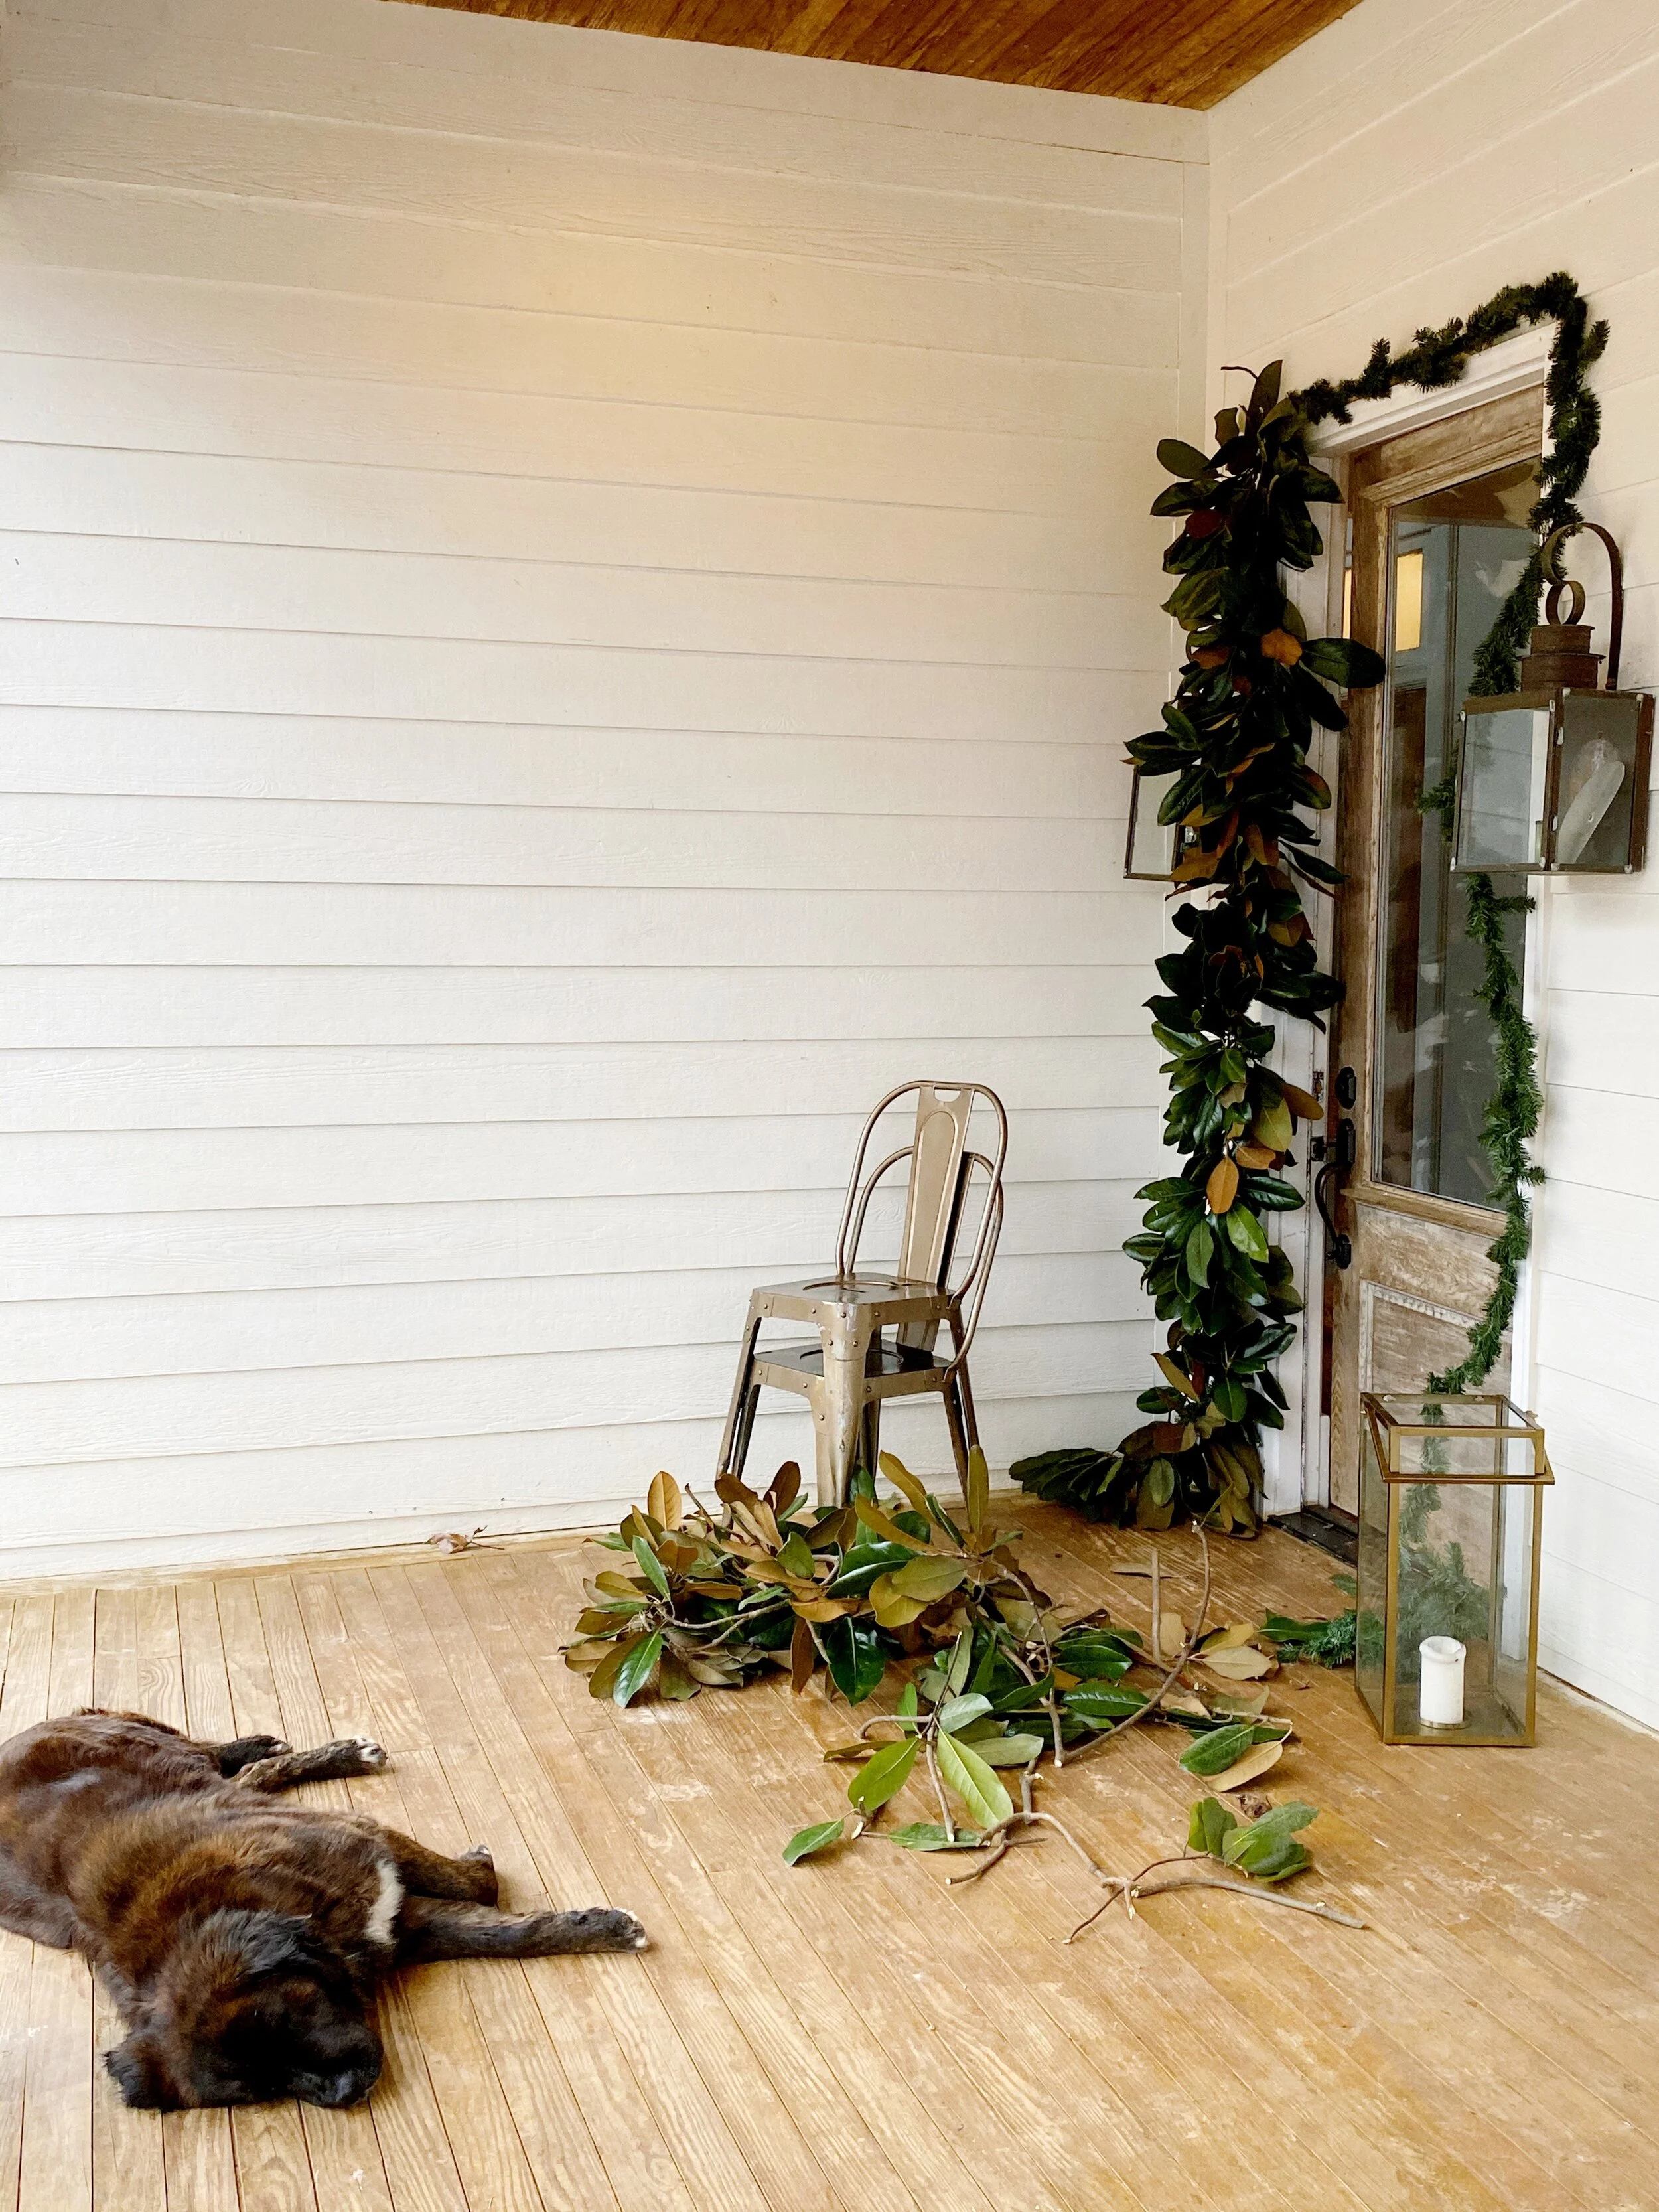
Start by hammering nails above either side of door where you’d like garland to hang. Take the faux garland and place it around the door! I found 9 foot garland, I’ve just pieced them together by twisting the ends. Sweet Beckham is so much help :)

Love this wire, I’ve tried other but this seems to hold the best. We found it at home depot. You’ll need about 6 inches for every cluster of leaves.

Pick three or four magnolia leaves, twist the wire tight around the stem, leaving excess wire to attach to the garland. My other favorite greenery from our yard, “Anise” which works as a great filler.

Starting at the base of the garland, attach the excess wire to the garland, twist tight and then spread the leaves to cover faux garland. Don’t worry about gaps or wire showing, get the first layer attached!

Move up about six inches depending on the size of leaves. The goal is to overlap the previous leaves and cover the wire and faux garland. Dont’ worry about gaps, you’ll add fillers once you’ve completed the base! Repeat this until you reach the center over the door. Move to the base of other side and work you’re way up.

The center of the garland will look like this before adding fillers. The left side leaves will be pointing to the left and the right side leaves will be pointing to the right.
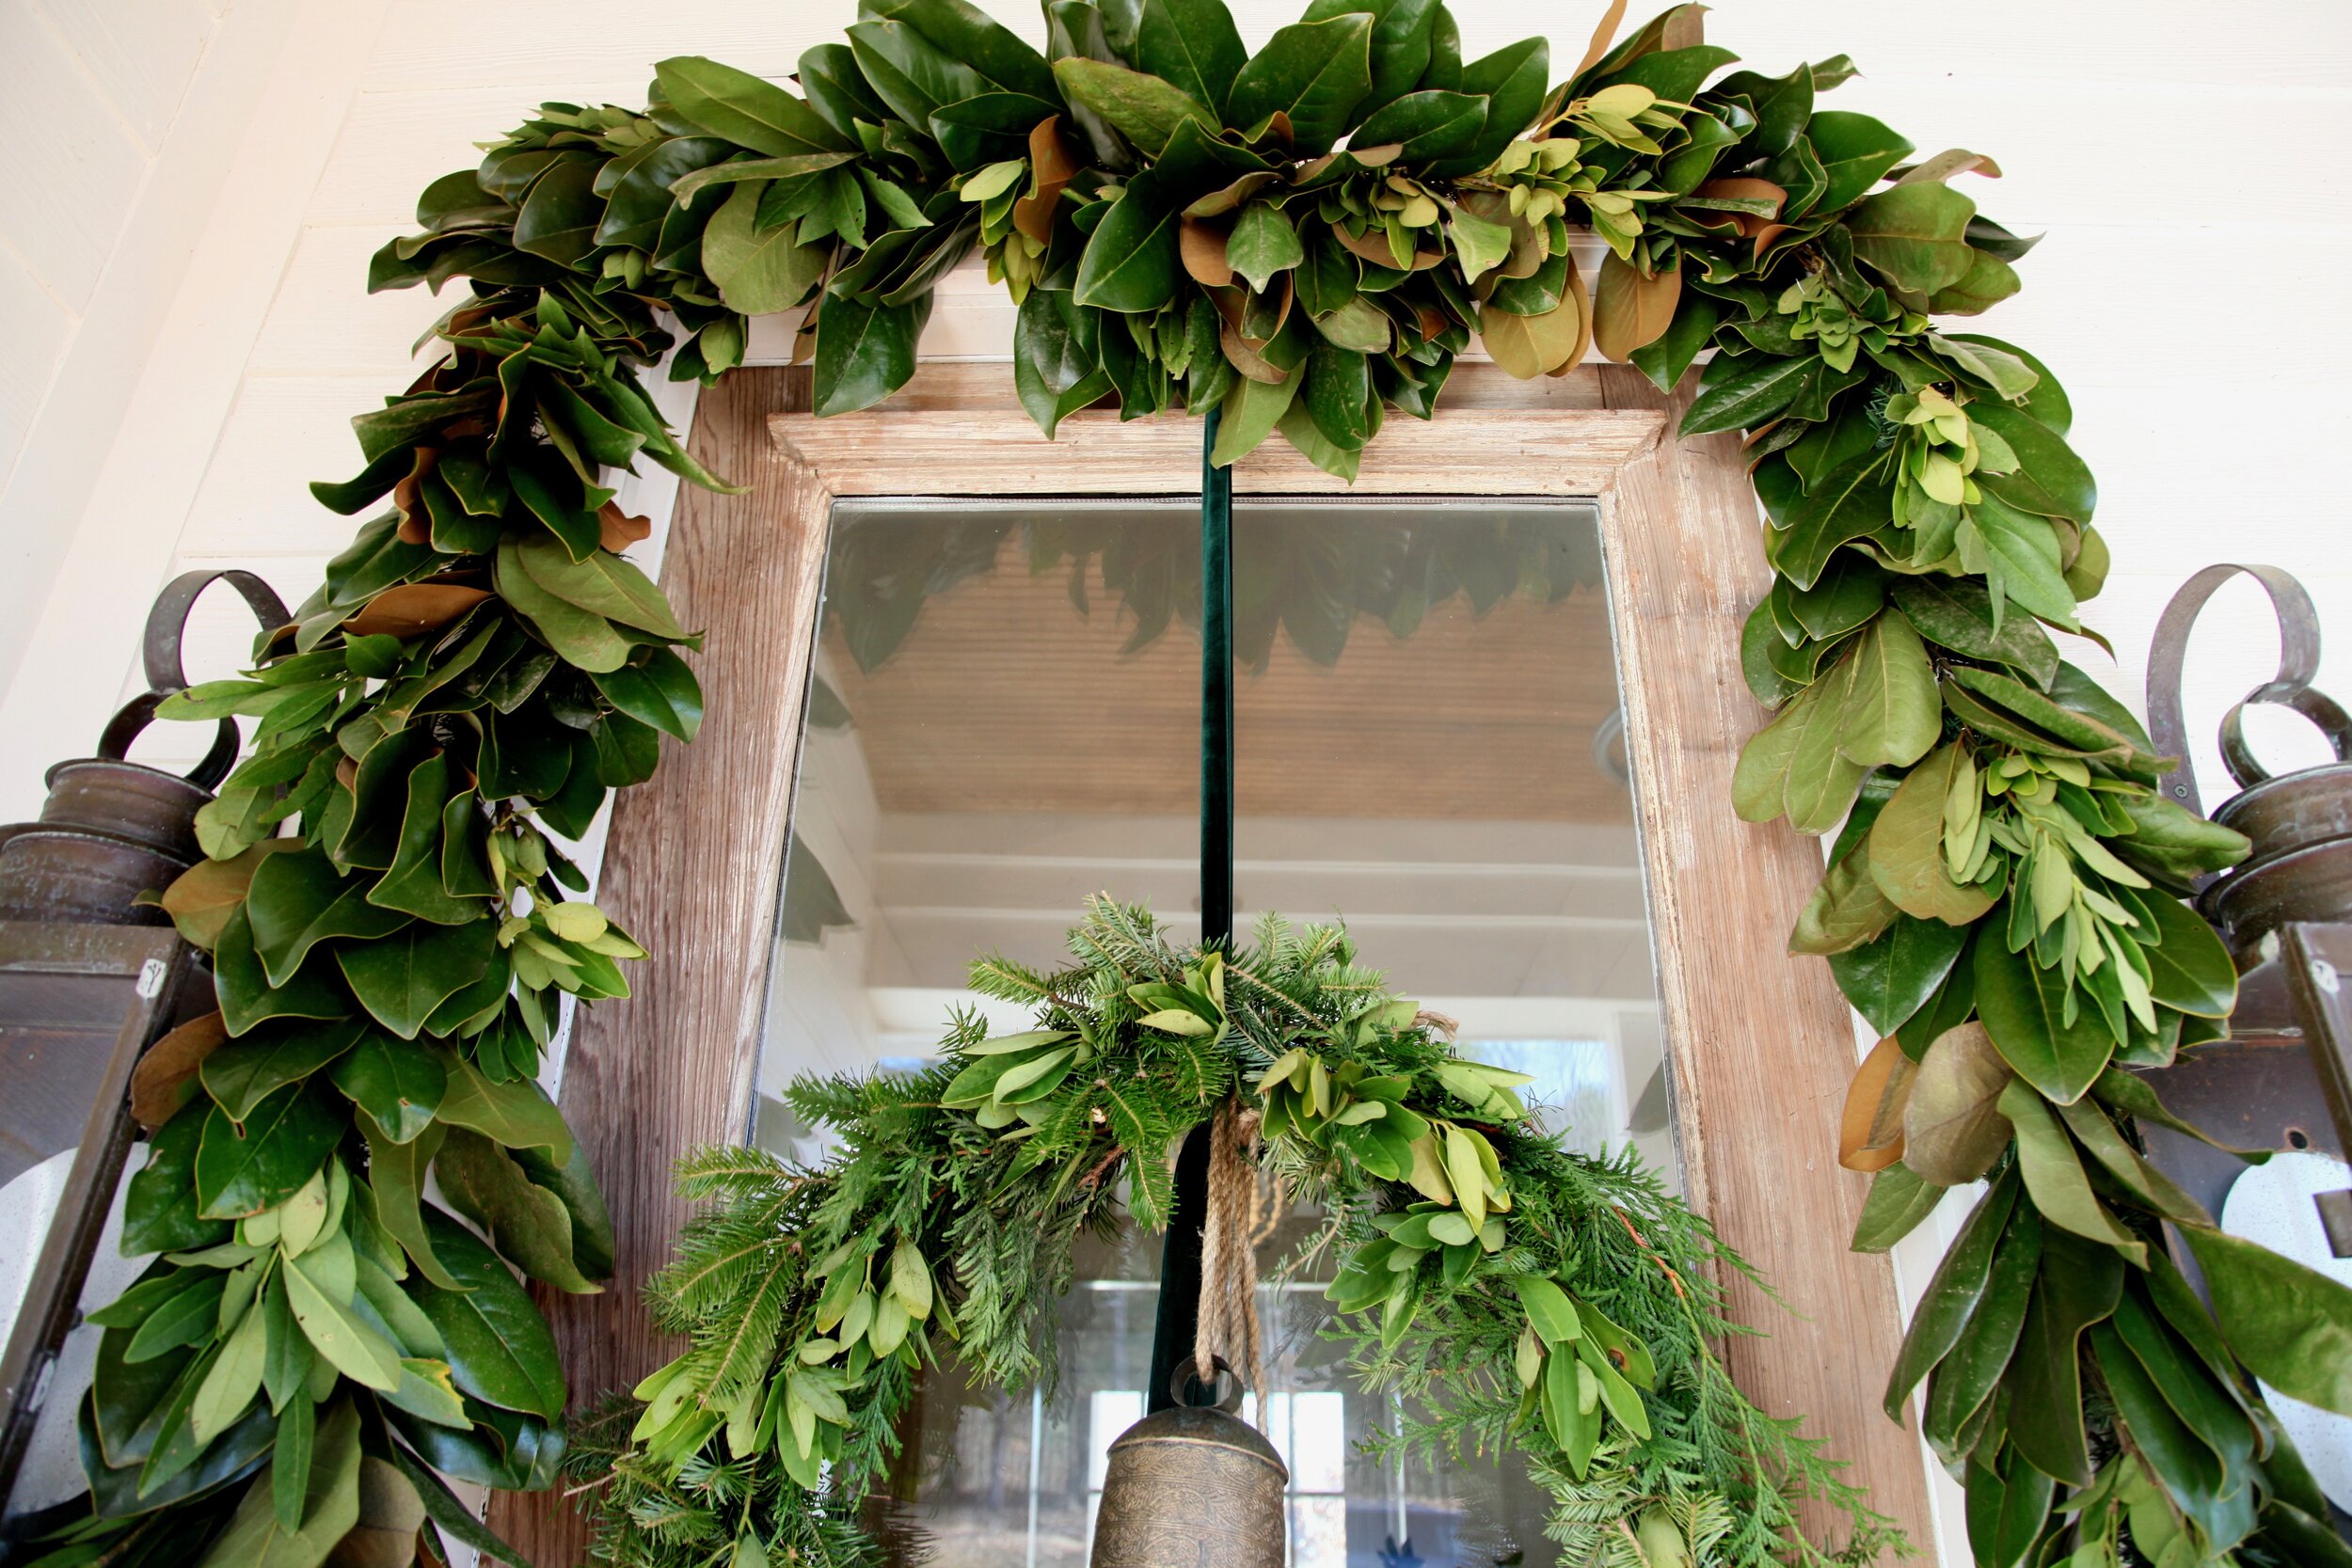
Now it’s time for fillers, you’re going to have to eye this one and just fill in the gaps! There’s no specific amount, just whatever thickness you’d like. Make sure you hide any excess wire, I just tuck it under leaves.
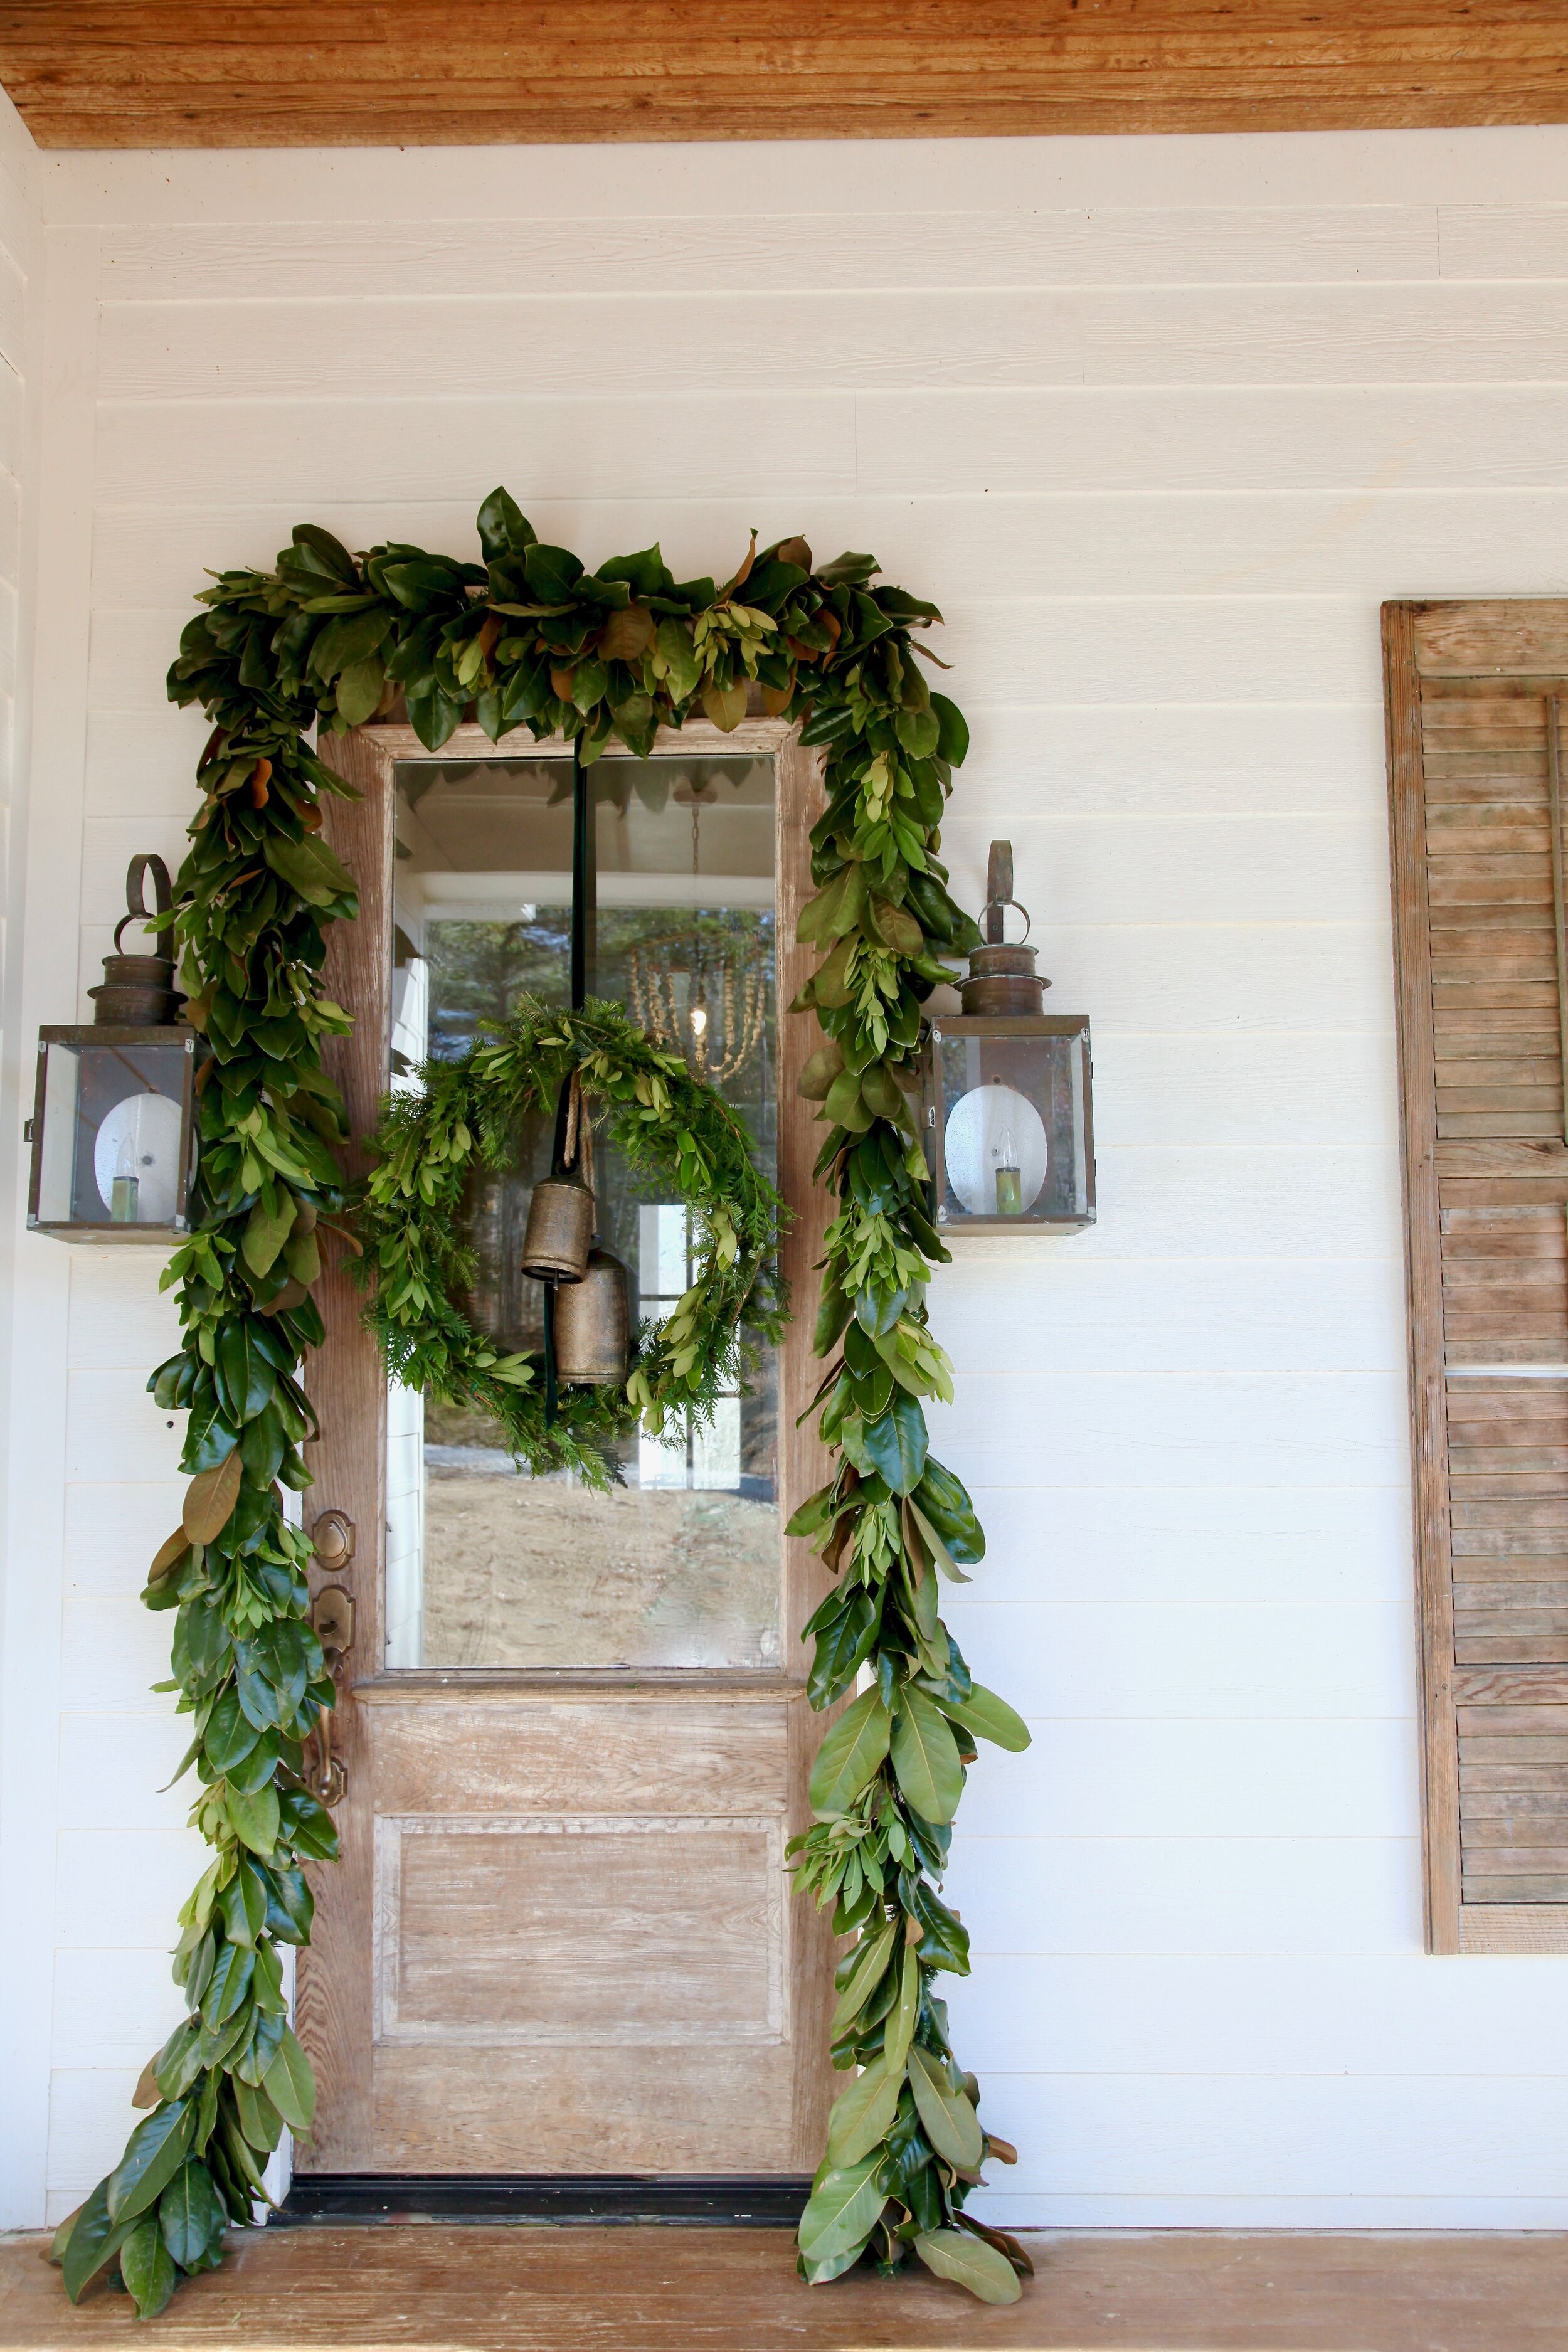
Are your arms as tired as mine? How amazing though, when it’s finished!!